Add Nodes in Bulk via LDAP
Cloudhouse Guardian (Guardian) offers the ability to import nodes in bulk from a number of sources, including AWS, Azure, CSV files, and more. This topic describes how to add nodes in bulk by importing them into your Guardian instance via Lightweight Directory Access Protocol (LDAP).
Note: Any existing nodes that are detected are not re-added to your Guardian instance. If any changes have occurred on the node since the last import, the existing node is updated accordingly.
Dependencies
To import nodes in bulk via LDAP, a Windows Connection Manager configured within your Guardian instance is required. For more information, see Windows Connection Manager.
To add LDAP nodes in bulk, complete the following steps:
-
In the Guardian web application, navigate to the Add Nodes tab (
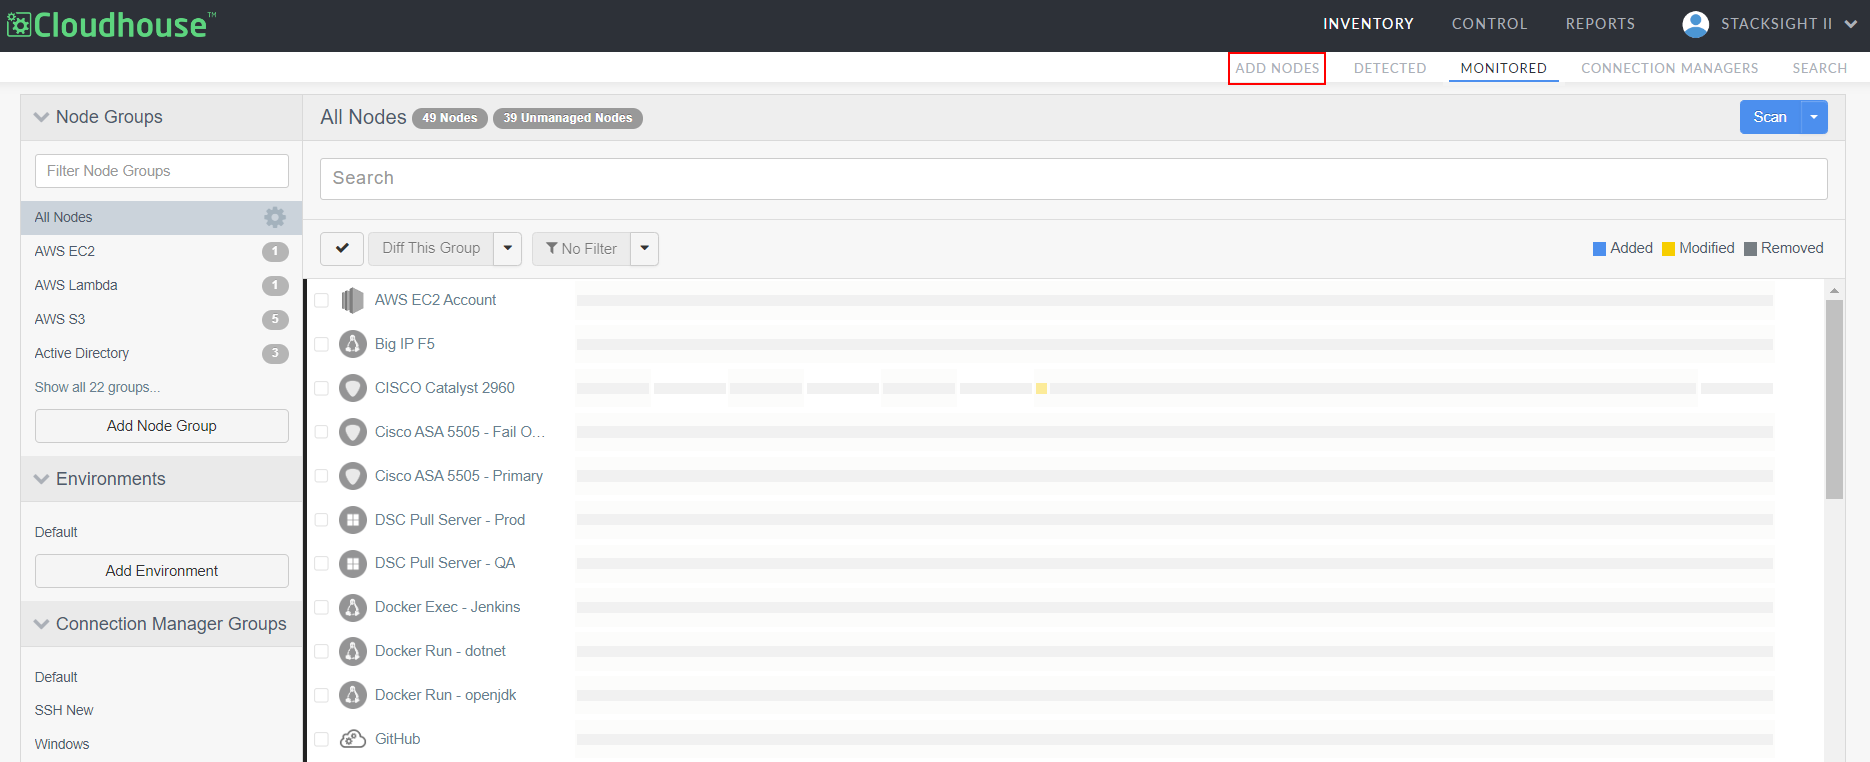
-
Click the LDAP button. The Add Nodes via LDAP page is displayed.
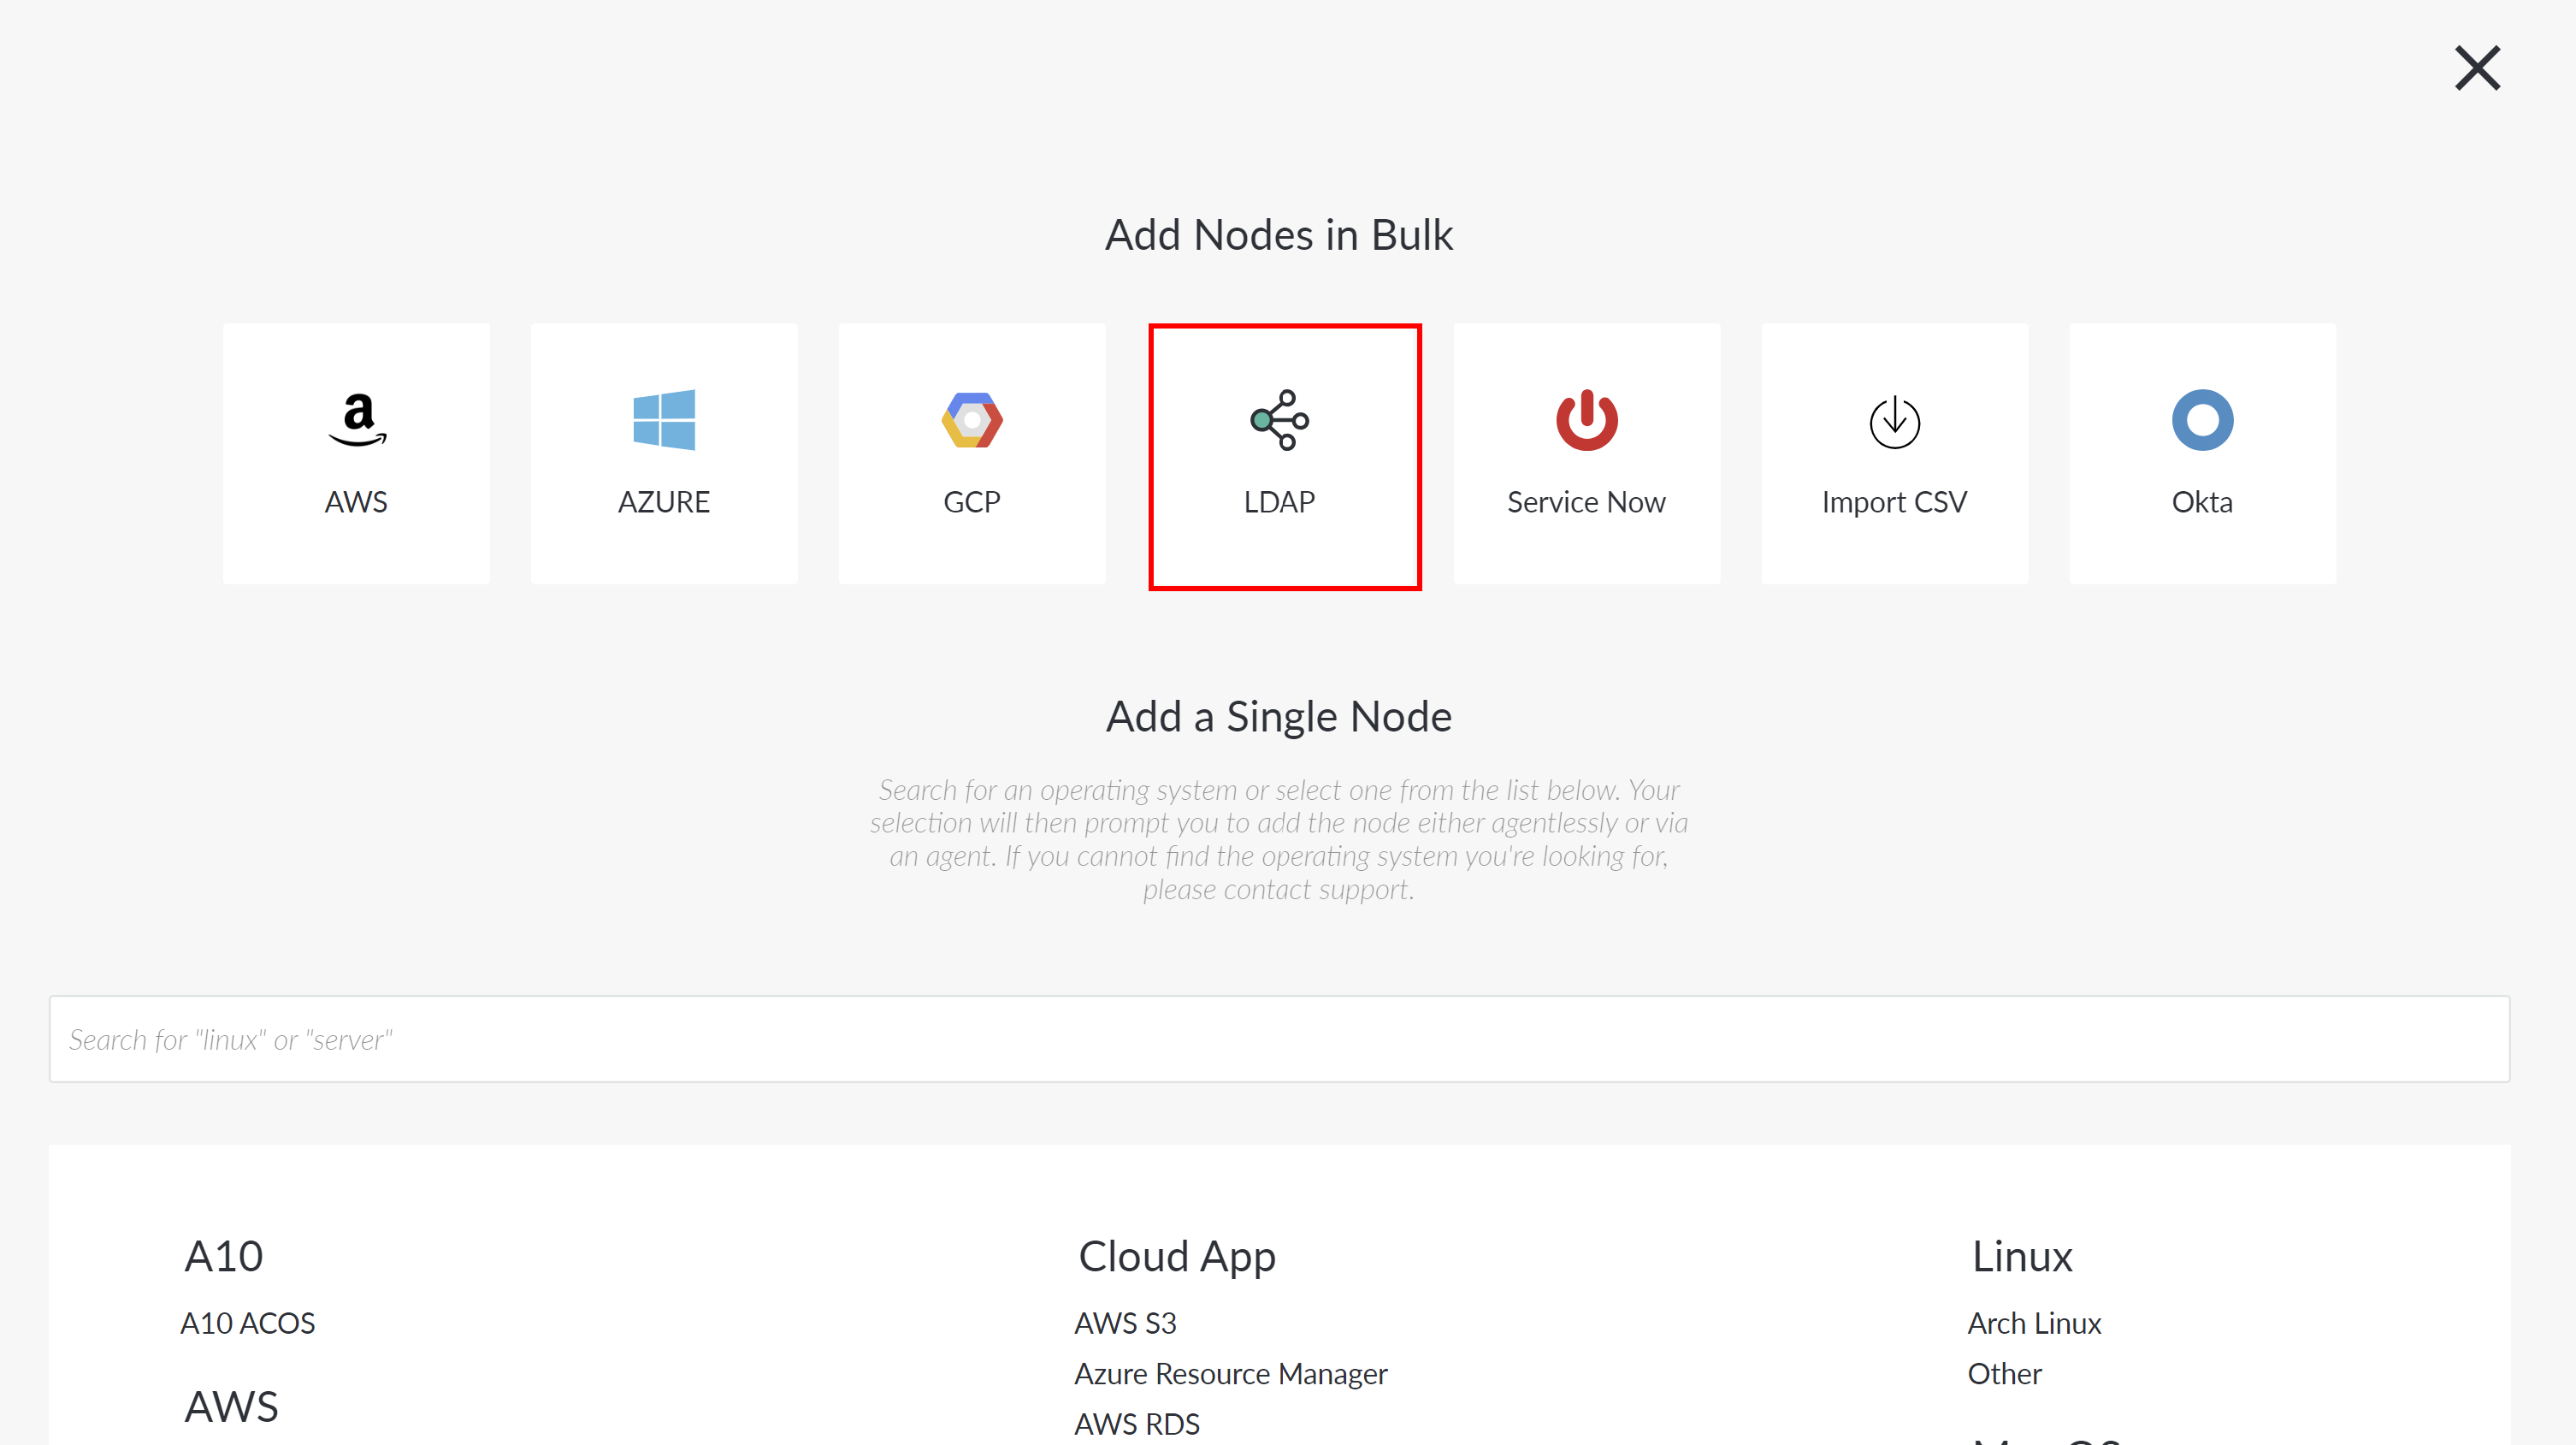
-
Here, you are required to complete the following options:
Option
Description
Connection manager group drop-down list
The Connection Manager group that is responsible for importing your LDAP node(s). Select a Connection Manager group from the drop-down list.
Note: Once imported, the nodes are added to the Detected tab (Inventory > Detected) of your Guardian instance. If you are importing both Windows and non-Windows nodes, you can set multiple Connection Manager groups that are configured to scan each node type.
LDAP path field
The LDAP path for your domain. For example,
LDAP://DC=your,DC=domain,DC=here.LDAP query field
Enter the query you want to use to filter nodes. For example,
(objectClass=computer).Linux Credentials drop-down
When scanning Linux nodes, provide your Linux credentials according to the following:
-
Linux Connection Manager drop-down list – The Connection Manager group that is responsible for scanning any non-Windows node(s). Select a Connection Manager group from the drop-down list.
-
SSH Port (Optional) field – The Secure Shell (SSH) port number that the Linux Connection Manager uses to communicate with the target nodes for scanning. If you selected a Linux Connection Manager from the drop-down list above, enter the port number you are using. If no value is provided, Guardian will default to port 22.
Note: If you enter a port number that is different to the default (port 22), make sure that it matches the port number that the administrator of the target node is using to run their SSH server.
- Credentials – Option to use credentials stored in the Guardian Credentials Vault or Azure Key Vault. Select one of the options below:
Guardian Credentials Vault – Use credentials stored in your Guardian instance. Select an option from the Linux Credentials drop-down list. Additionally, you can select 'Add New Credential' to display the Create Credential dialog if you anticipate using these same credentials for other nodes or integrations. For more information, see Create Credential.
Note: This option is only available if you have the Credentials feature enabled. If you don't, you'll be prompted to enter a Username and Password for authentication.
Azure Key Vault – Use credentials stored in your organization's Azure Key Vault. The credentials displayed are based on the Azure Key Vault integration. For more information, see Azure Key Vault Credentials.
Note: The Azure Key Vault feature was introduced in V3.63.0 of the Guardian Web Application. This is an optional feature that must be enabled. For more information, see February 2026 Monthly Release.
If selected, you are required to provide the following information:
Username field – Enter the username of the Azure account required to access the Azure Key Vault. This must be the same account that the selected Azure Key Vault secret belongs to.
Azure Key Vault Items drop-down list – Select a secret from the list. The secrets displayed are based on values from the Key Vault(s) configured in the Azure Key Vault integration.
Tip: For more information, see Azure Key Vault Integration.
Warning: This option is only displayed if you have the Azure Key Vault feature enabled. If you don't, you'll be prompted to enter a Username and Password for authentication.
Windows Credentials drop-down
When scanning Windows nodes, provide your Windows credentials according to the following:
-
Windows Connection Manager drop-down list – The Connection Manager group that is responsible for scanning any Windows node(s). Select a group from the drop-down list.
-
WinRM Port field – The default port for WinRM. Enter 5985 for HTTP-based connections, or 5986 for HTTPS/cert-based connections. If you are using non-standard ports for WinRM, enter them here.
-
Windows Credentials – Option to use a stored credential. Select an option from the Credentials drop-down list. Additionally, you can select 'Add New Credential' to display the Create Credential dialog if you anticipate using these same credentials for other nodes or integrations. For more information, see Create Credential.
Note: This option is only available if you have the Credentials feature enabled. If you don't, you'll be prompted to enter a Username and Password for authentication.
-
-
Once you have set the correct values for each of the options displayed, click Discover Nodes to add the LDAP nodes to your Guardian instance.
Once complete, any nodes that are detected within LDAP are automatically added to the Detected tab. Here, you can choose which nodes you'd like to promote to the Monitored tab (Inventory > Monitored) for regular scanning. For more information, see Detected Nodes.